
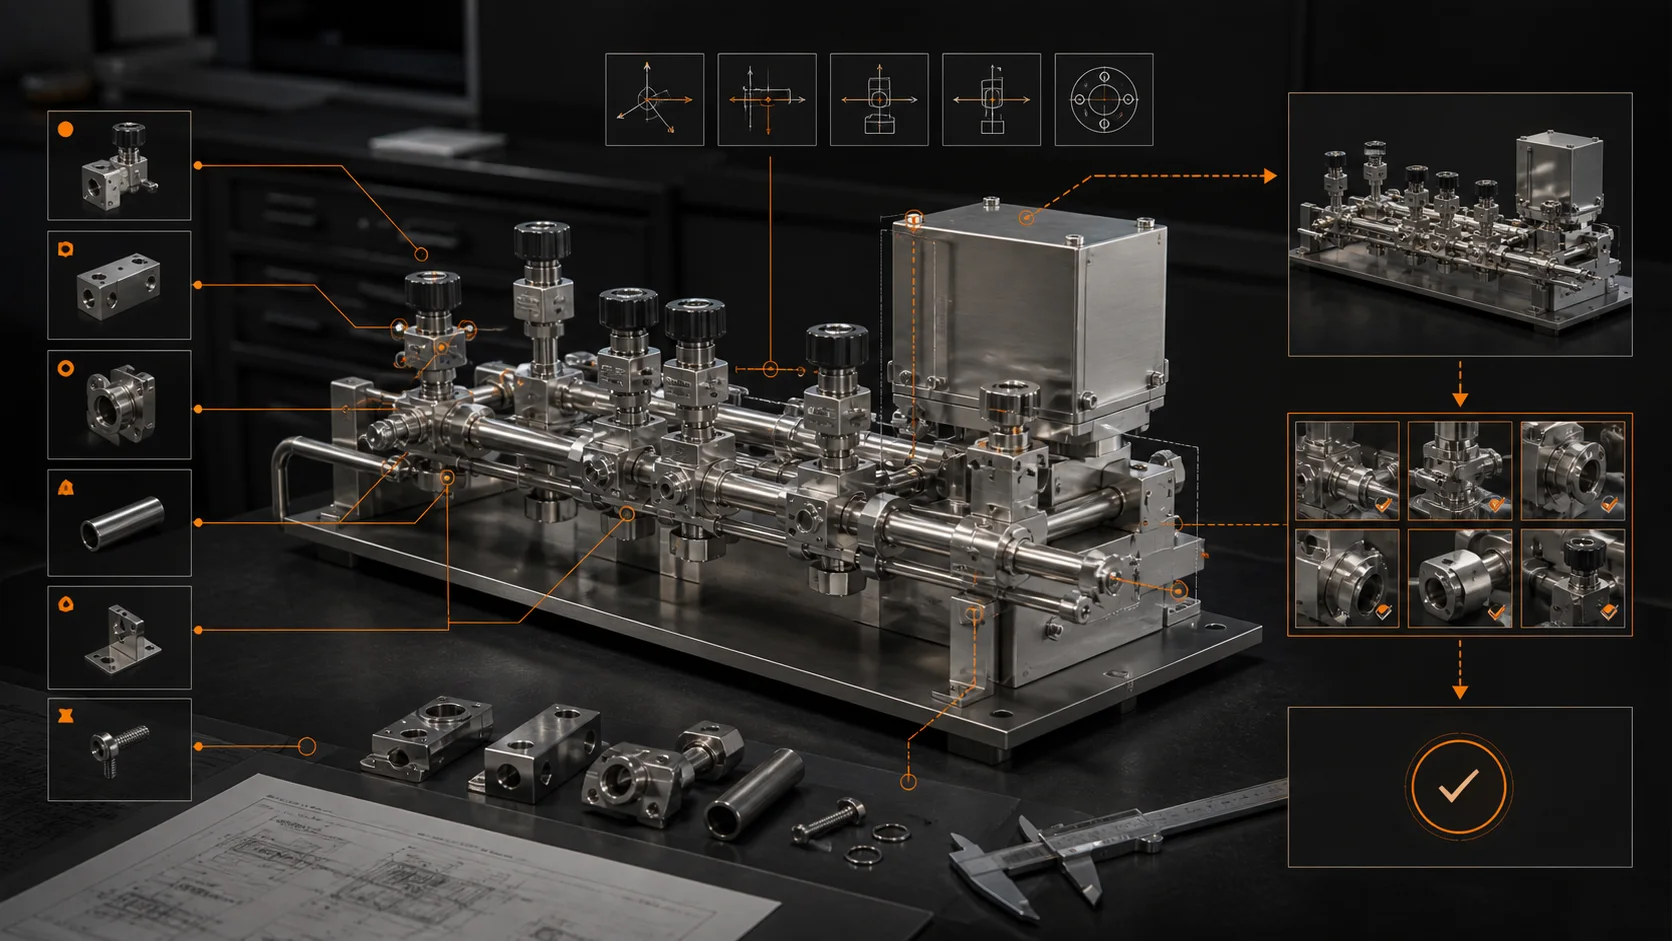
Direct answer: to copy a SOLIDWORKS assembly so the new copy opens on its own, open the top-level assembly, run File > Pack and Go, include the drawings and any other files you need, give the copied files a prefix or suffix so they cannot be confused with the originals, save to a new folder (or a Zip), and then open the copy from its new location and confirm that every component resolves to the new folder. Copying files in Windows Explorer is the most common way to end up with an assembly that silently points back at the original parts.
This guide is for mechanical engineers and CAD leads at equipment makers who reuse a proven assembly as the starting point for a new order, a variant, or a customer-specific machine. Practice on a small assembly first and keep the original untouched.
Why Explorer copies break references
A SOLIDWORKS assembly (.SLDASM) does not contain its parts. It stores references to part and subassembly files, plus the mates, configurations and positions that tie them together. Drawings (.SLDDRW) in turn reference the model they document.
When you copy a folder in Explorer and rename files, the assembly still holds the old file paths and names. On open, SOLIDWORKS searches for each reference in a defined order, and it can find the original file first. The result looks correct, but edits to the “new” design change parts used in the old one. If you want the background on what a native assembly stores compared with neutral formats, see Why is a native SLDASM different from STEP, STL or a mesh?.
Pack and Go collects the referenced files, copies them, and updates the references inside the copies so the new set points at itself.
Before you start: a four-point checklist
- Open the top-level assembly and rebuild it. Resolve any missing references or mate errors first; Pack and Go copies problems as faithfully as it copies parts. The mates troubleshooting walkthrough covers how to clear errors one cause at a time.
- Check out or get latest from PDM, if you use a vault. Packing a stale local cache copies stale files.
- Decide what is shared and what is project-specific. Standard hardware and library parts (fasteners, catalog fittings, approved purchased parts) usually should not be copied and renamed. Project-specific plates, brackets and weldments usually should.
- Decide the naming rule for the copy: a prefix, a suffix, or new part numbers from your part master.
Step-by-step: Pack and Go
Step 1: Open the dialog from the top assembly
With the top-level assembly active, choose File > Pack and Go. The dialog lists every referenced file in a tree or flat view, with the source folder, the target name and the target folder.
Step 2: Choose what to include
Use the options at the top of the dialog:
- Include drawings – adds drawings that reference the model files, so the copied drawings point at the copied parts. Drawings are only found when SOLIDWORKS can locate them; drawings stored with the same name in the same folder as their model are found most reliably.
- Include simulation results / Toolbox components / custom decals, appearances and scenes – include these when the receiver needs them. For Toolbox parts, most teams leave them referencing the shared Toolbox rather than copying them.
- Include suppressed components – include when other configurations use those components; otherwise those configurations will be incomplete in the copy.
Then go down the list and untick files you want to keep referencing from the shared library. An unticked file is not copied; the copied assembly keeps pointing at the original location.
Step 3: Rename consistently
Use Add prefix or Add suffix to rename every copied file in one step, for example J2611- as a project prefix. For individual files, edit the name in the Save To Name column.
Two rules help later:
- Rename the files that change for the new project. Do not rename shared standard parts.
- If your BOM reads part numbers from file names, renaming changes the BOM. If it reads them from custom properties or configuration settings, renaming does not. The BOM part numbers and configurations tutorial explains how to trace where the displayed number actually comes from, so update the right field.
Step 4: Pick the destination
- Save to folder – choose a new, empty folder. Flatten to single folder puts every file in one folder, which is simple for small assemblies. Keep the folder structure when your team relies on subfolders.
- Save to Zip file – useful for sending a set to a supplier or archiving a snapshot. The Zip keeps the updated references once extracted.
Click Save.
Step 5: Close everything, then open the copy
This step is where most problems are caught. Close all documents (or restart SOLIDWORKS) so the originals are not already in memory, then open the copied assembly from its new folder.
If the originals are open in the same session, SOLIDWORKS can resolve references to the documents already loaded, which hides mistakes.
Verify the copy: five checks
- File locations. Use File > Find References on the copied assembly. Every project-specific file should be in the new folder. Only intentionally shared library parts should point elsewhere.
- Rebuild. Press Ctrl+Q (forced rebuild) and confirm no new errors or warnings appear in the Mates folder.
- Configurations. Activate each configuration and rebuild. Suppressed components that were left out of the pack show up here as missing.
- Drawings. Open each copied drawing and check that views show the copied model (see the model path in the view’s properties) and that the BOM table reads the expected part numbers.
- Edit test. Change one dimension on a copied, project-specific part. Then open the original assembly and confirm nothing changed there.
Record the result next to the project, for example a short note listing the shared parts that intentionally stay referenced.
Common problems and fixes
The copy still opens the original parts
The originals were open during the test, the files were unticked in the pack list, or a search path points at the original folder. Close everything, check Tools > Options > System Options > File Locations > Referenced Documents, and re-test with Find References.
Drawings were not copied
Pack and Go only includes drawings it can find. Store drawings beside their models with matching names, or add them by browsing in the Pack and Go dialog. If the drawing was copied by hand, use File > Replace or SOLIDWORKS Explorer/PDM tools to repoint it to the new model.
Toolbox or library parts were duplicated
Every copy of a standard fastener becomes a separate file with its own identity. Delete the duplicates only after repointing the assembly to the library version (Replace Components), then rebuild. Next time untick them in the pack list.
BOM part numbers did not change
The BOM is probably reading a custom property or configuration setting, not the file name. Update the source property, not the table cell.
PDM vault considerations
Inside a PDM vault, prefer the vault’s own Copy Tree command over Pack and Go. It understands vault references, revisions and file states. Pack and Go is best for copying out of the vault, sending to a supplier, or working outside PDM.
A practice exercise
- Build a three-part assembly: a base plate, a bracket and a standard screw from your library.
- Add a drawing of the bracket with a BOM.
- Pack and Go to a new folder with prefix
TEST-, untick the screw, include drawings. - Close all, open
TEST-assembly, run Find References. - Expected result: plate, bracket, assembly and drawing in the new folder; the screw still points at the library.
- Change the bracket thickness in the copy; confirm the original bracket is unchanged.
When copying is not enough
Pack and Go is ideal when a new machine is a close variant of an old one. Equipment makers with many configured orders often find that the real work is not copying the files but choosing the right approved parts, placing them and connecting them for each new order. That is the part MST AI Engineer is built for: its mechanical assembly AI module places approved parts from your own library into a native, editable SOLIDWORKS assembly, alongside the drawing to model and layout and connections modules. See the native SOLIDWORKS assembly demo or read how it fits configured equipment.
FAQ
Does Pack and Go copy Toolbox parts? Only if you include them. Most teams leave Toolbox parts referencing the shared Toolbox.
Can I Pack and Go a part or drawing instead of an assembly? Yes. Run it from the active document; it collects that document’s references.
Is Pack and Go the same as Save As with references? Both can update references. Pack and Go gives a single view of every file, renaming and destination, which is easier to check for larger assemblies.
Does Pack and Go keep configurations and mates? Yes. It copies the native files, so mates and configurations remain in the copied assembly.
Reusing assemblies for every new order? If your design team builds similar equipment again and again, request a team trial and bring one of your own assemblies. We will show what MST AI Engineer does with your parts library, inside SOLIDWORKS. Request a team trial →
MST Engineering Intelligence. “SOLIDWORKS Pack and Go: How to Copy an Assembly Without Breaking References.” MST Engineering Intelligence. Updated 2026-11-02. https://mst-us.ai/solidworks-pack-and-go-copy-assembly/
FOR EQUIPMENT MANUFACTURERS AND DESIGN TEAMS
Talk to the engineering team.
Tell us what your team designs and which repetitive task you want to improve. A short, non-confidential description is enough to discuss a relevant demo. Arrange a private channel with MST before sharing company drawings or models.
Operated by MOORE SOLUTION TECHNOLOGY PTE. LTD. · Singapore UEN 202315239E